To ensure all students are shown on the list, including "All" for the Title and Fullname filtering, show "All" assignments per page with no filter.
11.6.3 Use Case 1 - Distributing the Handwriting Feedback Files for Moodle Assignment Submissions Print Out (Need to Scan Hardcopies)
If teachers print the Moodle Assignment submissions and do marking on the printouts, after scaning the hardcoies, teachers can rename all the scanned files to a "standard format" and upload a zip file with all the renamed files to Moodle.

1
On the Assignment Summary Page, click the "Edit Icon" on the top right corner.
2
Downlaod one of the template zip files without folder.
Note
Only the subject groups created by the system will be available for this group information. Courses without any subject groups will only have four types template zip file.

3
Save the zip file to the computer.

4
Go to the location of the downloaded zip file and unzip it.

5
By referring the Moodle Template Filename, open the scanned files to check the owners and rename them one by one.
Note
Please backup the original scanned files before renaming them.
Note
Moodle Template Filename: "[Student Fullname] [Student Number]_[Moodle Assignment Submission ID]_assignsubmission_file_[Filename Input by student]"
Note
If there are more than one file submitted by a student, same number of files will be downloaded with the same prefix of filename. e.g.:
[Student Fullname] [Student Number]_[Moodle Assignment Submission ID]_assignsubmission_file_[XXX]
[Student Fullname] [Student Number]_[Moodle Assignment Submission ID]_assignsubmission_file_[YYY]
Reference Steps:
- Press "F2" button to capture the filename (OR right click the scanned file > choose "Rename")
- Copy the "Moodle Template Filename"
- Open the corresponding scanned file to check which student belong to
- Close the scanned file
- Select the scanned file
- Press "F2" button to rename (OR right click the scanned file > choose "Rename")
- Paste the filename to the corresponding scanned file

6
After renaming the scanned files, double-check the filename and content, see if they are matched.

7
Select all renamed files and zip them into one zip file.

8
On the Assignment Summary Page, click the "Edit Icon" on the top right corner.
9
Select Upload multiple feedback files in a zip.

10
Browse the zip file or drag and drop the file to the corresponding area.
11
Click the button "Import feedback file(s)".

12
Check the list of feedback files, the button "Confirm".

13
Check the number of uploaded feedback files feedback files and click the button "Continue". The feedback files will be shown in the column "Feedback files" on the Assignment All Submission Summary.

For releasing the feedback files to students, please refer to 11.6.2 Releasing Feedback Files to Students.
11.6.4 Use Case 2 - Creating Assignment for Uploading Individual File to Each Student (No Submission Needed)
Note
When teachers need to distribute feedback files not related the existing Moodle assignment submissions (e.g.: Turnitin Assignment, Presentation Task, Oral Exericse.), a "blank" assignment can be created for uploading individual file to each student.

1
Add a Moodle Assignment.

2
Dates : Do not set the "Allow submission from", "Due date", and "Cut-off date" (uncheck "Enable").
3
Submission types : Disable (uncheck) the "Online text" and "file submission".

4
Use marking workflow : "No". No need to set the marking workflow, just "Hide" / "Show" this asssignment for controlling the accessibility.
5
Availability : "Hide from students". Hide this assignment at the begining and release to students when the files are ready.
Note
For releasing the files to students in a specific time, please add a Restrict Access.

6
Click the "Save and display" button to create the assignment.

7
On the Assignment Summary Page, click the "View all submissions" button.

8
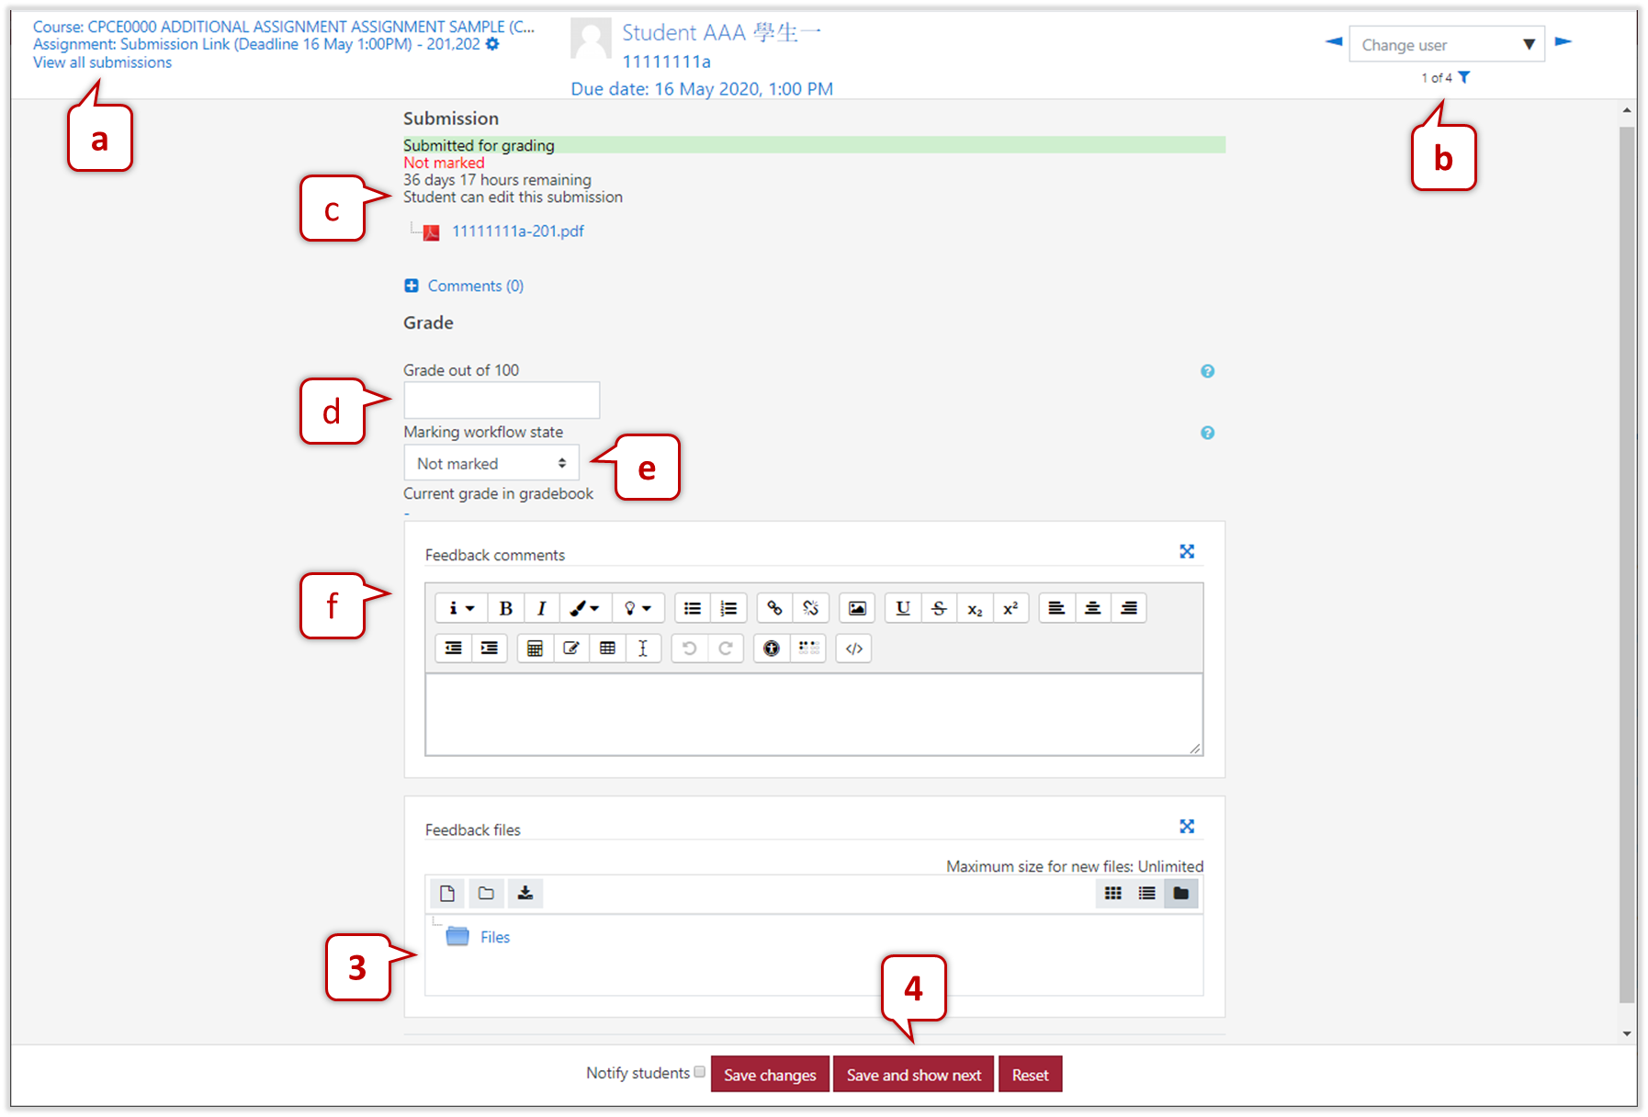
Locate one of the students' records, click the "Grade" button.

9
Browse the feedback file or drag and drop the file to the corresponding area.
10
Click "Save and show next" or "Save changes" button.

11
Check the list of feedback files.
12
Show this assignment activity to students (Availability : "Show on course page").
Student's View


